What Is MongoDB?
MongoDB is a relatively recent non-relational database management system of the NoSQL variety. As ‘NoSQL’ implies, it doesn’t use SQL, and is a document store that utilizes key-value pairs similar to those in JSON. MongoDB stores data in the BSON format, which is reminiscent of JSON.
This condensed MongoDB tutorial will make it easy to get started with the MongoDB CLI easily. It also includes optional SQL notes for SQL users to pick it up even faster.
Table Of Contents
- How To Install MongoDB In Ubuntu.
- CRUD Operations (Create, Read, Update, Delete).
- Read Operations.
- Write Operations.
- Update Operations.
Installing MongoDB On Ubuntu Linux
Repositories have made it easy to install MongoDB on Ubuntu and Debian. Just run these two commands:
sudo apt-get update
sudo apt-get install -y mongodb
Once the installation is complete, there are a number of security concerns and tweaks that are required for all databases (read more at the bottom).
You can now type sudo service start mongod, although it’s likely that it has already been started post-installation, and will automatically start with your computer in the future. You can shut down the MongoDB server by typing sudo service mongod stop.
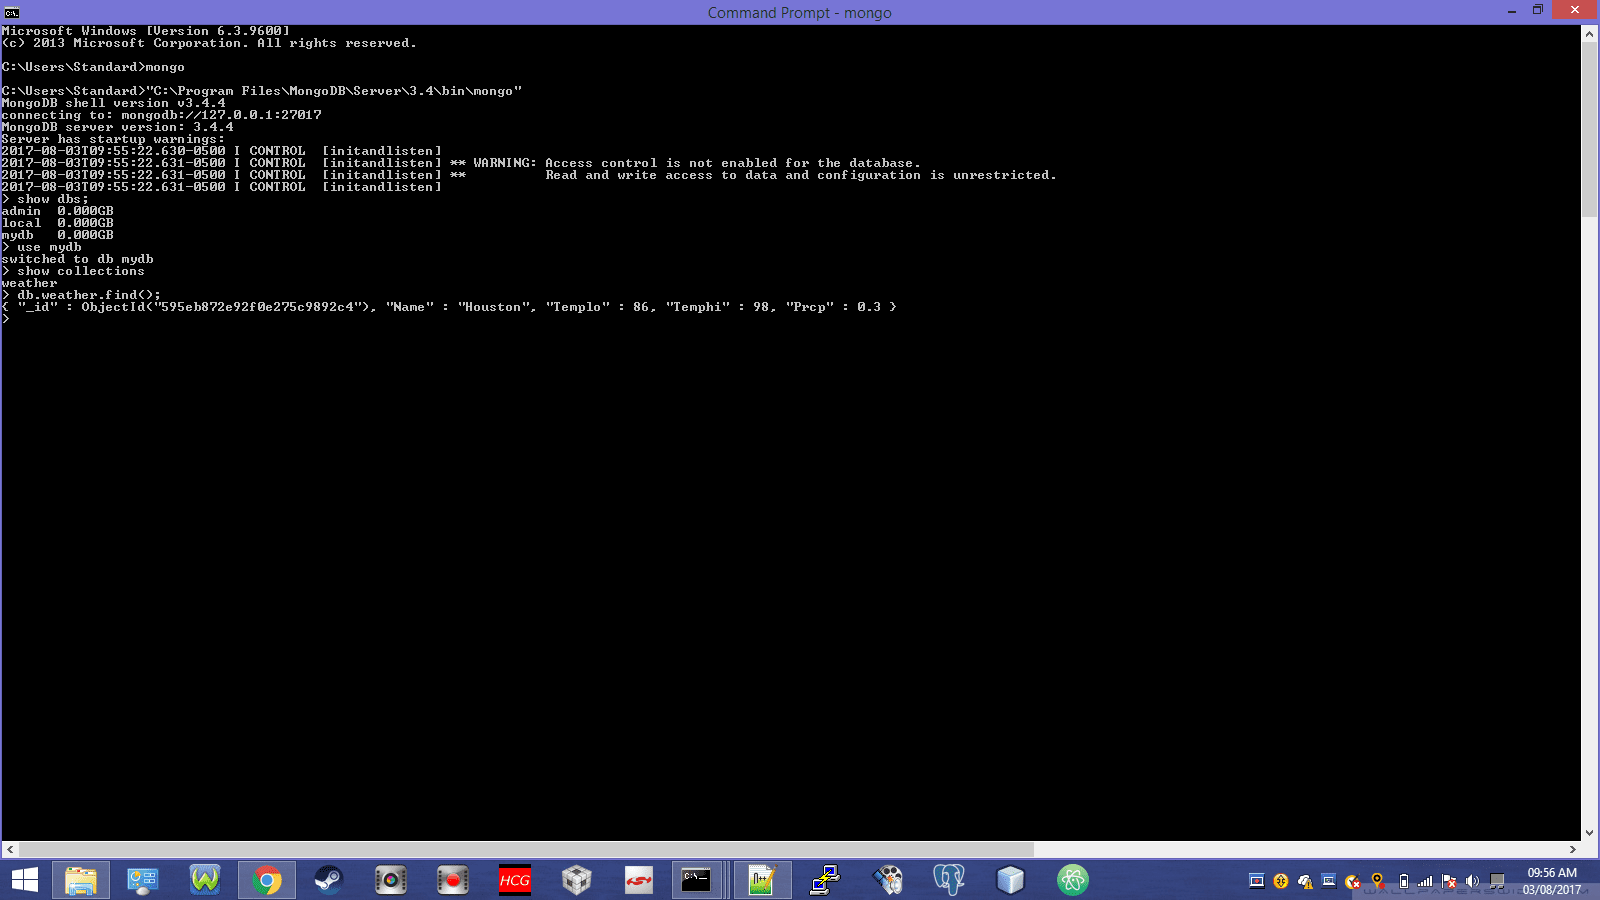
‘Mongod’ is the Mongo daemon. That’s the server/DBMS. To use the MongoDB CLI, you just type ‘mongosh’ at the Ubuntu command prompt and you should see a ‘>‘ or similar symbol show up in the terminal window (it is called the Mongosh client).
That is the prompt at which you will type MongoDB commands, such as queries required to create databases, find records, write record to databases, and much more. You’ll need this tool to check for and delete/correct errors in databases every now and then.
MongoDB CRUD Operations
Let’s jump right into the creation of a database! (once you’ve started the mongosh client), one of the most important aspects of this MongoDB tutorial. To create a database, you simply type use [databasename]. This command is also how you enter an existing database. Let us use the database name ‘mydb’ for this exercise.
use mydb
That’s it! Now you can insert a record. In MongoDB, that would be called a ‘document’. Documents contain key-value pairs, and are formatted as JSON objects. If you know JSON, that will be convenient, as that is what you’ll use to build your MongoDB queries. End your queries with a semicolon.
You can now insert a record in your MongoDB database (mydb) by typing the following:
db.fruits.insert({Name: 'Avocado', PotassiumContent: 708, ServingSize: 146});
This query inserts a document containing information about avocados into a collection called ‘fruits‘. A drawer of files pertaining to fruits is somewhat analogous to a MongoDB collection. The drawer can be considered the collection, and each file could be considered the document. Collections are automatically created using insert queries, so you don’t have to go create a collection beforehand.
Notes for SQL users
MongoDB doesn’t use tables, therefore I will provide little hints about what relates to what (no pun intended) with regards to MongoDB jargons so you can hit the ground running.
A collection is not the same as, but is the MongoDB equivalent of a table in SQL. A document is the equivalent of, but not the same as a row.
The SQL equivalent of the db.fruits.insert() command above is (the INSERT command is to be entered separately):
CREATE TABLE fruits (

name varchar(80),

potassiumcontent int,

servingsize int

);

INSERT INTO fruits VALUES('Avocado', 485, 100);
Using The Greater Than Or Equal To Operator In MongoDB:
In MongoDB, there is a greater than or equal to operator ($gte) which you can use to display records containing fields which have a value greater than or equal to what you’re searching for. As an example, we will use the ‘$gte’ operator to find fruits which contain more than 200 mg of potassium, as shown below. I also squeezed in the optional ‘pretty()‘ function in the second example below to make the output less messy, as MongoDB’s output is generally jumbled. That is usually called ‘pretty printing’.
db.fruits.find({ PotassiumContent: {$gte: 200} });
Such a simple, short, yet useful command!
You can also use:
$gt: Greater than:
db.fruits.find({ PotassiumContent: {$gt: 200} }).pretty();
$lt: Less than:
db.fruits.find({ PotassiumContent: {$lt: 200} });
$lte: Less than or equal to:
db.fruits.find({ PotassiumContent: {$lte: 200} });
Notes for SQL users.
In SQL, you could use the ‘>‘ and ‘<‘ operators as shown in the example below.
SELECT * FROM fruits
WHERE potassiumcontent > 200;
How to create a new user in MongoDB and set their privileges
There are helpful tutorials explaining how to secure your MongoDB database server. They include, but are not limited to:
Managing Users And Their Permissions (must read)
Enabling Authentication (must read)
Configure MongoDB With Kerberos Authentication
Further Reading
Send A GET Request From a Node.js App And Save The Data To a MongoDB Database.
Queries tested successfully on:
MongoDB 3.2.
MongoDB 3.4.
PostgreSQL 9.6.


