By Nicholas Brown.
Getting Started With Node.js – Receiving And Parsing POST Requests With The Express.js Library
Node.js is a JavaScript runtime environment designed with easy web server creation in mind, it also has great libraries (like Express.js) to make it even more convenient. With Node.js, you can quickly do tasks that were once mysterious and scarily complicated.
In this tutorial, you’ll be taught how to receive POST requests in Node.js the easy way, with the help of Express.js, JSON, and the body-parser library.
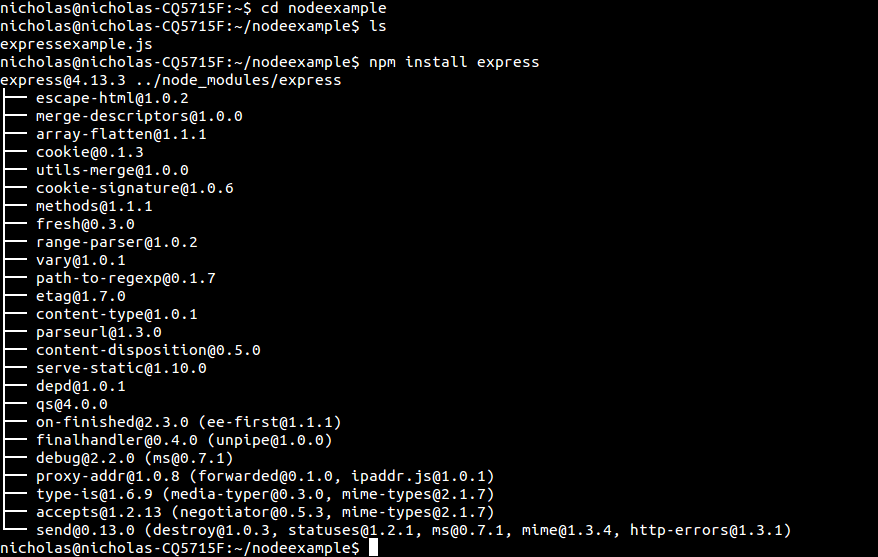
The first step: If you haven’t already, cd to your project’s directory (wherever you are going to put your Node.js code) and install Express.js using the Node package manager (NPM) at a command prompt (this applies to both Windows and Linux).
Also Read: JavaScript Variables – A Bite-Sized Introduction.
Example Code (1): Receiving POST Data In Node.js
1. //Import the necessary libraries/declare the necessary objects
2. let express = require("express");
3. let myParser = require("body-parser");
4. let app = express();
5.
6.   app.use(myParser.urlencoded({extended : true}));
7.   app.post("/yourpath", function(request, response) {
8.       console.log(request.body); //This prints the JSON document received (if it is a JSON document)
9. });
10.
11. //Start the server and make it listen for connections on port 8080
12.
13. app.listen(8080);
As is denoted by the use of the ‘var’ statements on lines 2, 3, and 4: express, myParser, and app are variables and objects (learn more about the connection between variables, objects, and how they work here). That means that myParser is your body-parser object. You can give it any name you like. I just called it ‘myParser’ for this example.
Line 6: The app.use statement on line 6 tells Express which middleware function you want to use. In this case, the middleware function is body-parser.urlencoded(). body-parser is a third-party parsing library.
Line 7: On line 7, the ‘.post‘ in the app.post statement indicates that the function handles POST requests. The request object on this line contains the POST request that your server received. A POST request can be sent by a browser using a simple HTML form, or a mobile app.
If you were listening for GET requests instead, you would type app.get instead. Please note that you would omit the ‘.body’ from request.body if using a GET request, as GET requests don’t have bodies.
The ‘/yourpath’ string on line 7 specifies the path at which the app.post function will execute line 8. For example, if you wanted to submit a user’s registration to the url ‘yourwebsite.com/registeruser’, you could rewrite the code on lines 7 and 8 as shown below:
Example 2:
app.post("/registeruser", function(request, response) {
       saveRegistrationData(request); //This is what happens when a POST request is sent to /registeruser
 });
When the browser sends the HTTP POST request containing the users’ details (this is required in this case) to yourwebsite.com/registeruser, the function ‘saveRegistrationData’ is executed and the request object is passed to it for processing. I just named it saveRegistrationData for this example. You can use whichever function you wish in place of saveRegistrationData, as long as your function parses the contents of the the request object, and saves them in a database for later retrieval.
Line 8: The statement on line 8, console.log() simply prints the value or variable between the parenthesis to the server console (not the browser console in this case, because this is back-end code which doesn’t run in the browser).
To print a specific field in the document received, you could have typed console.log(request.body.yourFieldName);, while request.body prints the entire body of the request.
This is where body-parser comes in handy. It lets you parse JSON documents in POST requests easily. yourFieldName would be the name of the field in your HTML form, not the id.
If you typed ‘Nicholas’ in yourFieldName in the HTML form you submitted, the second console.log line will just print ‘Nicholas’ without any symbols or JSON, so you can insert that field straight into your database (after validating it for security reasons, of course).
To respond to POST requests, simply type response.send(“Whatever string or other variable you want to send goes here”); or response.write(“Thank you” or variable containing HTML file); inside of the app.post function to let the user know if their submission has been received.
After implementing example 2, the resulting code will be:
let express = require("express");
let myParser = require("body-parser");
let app = express();

  app.use(myParser.urlencoded({extended : true}));

  app.post("/registeruser", function(request, response) {
       saveRegistrationData(request); //This is what happens when a POST request is sent to /registeruser
 });
app.listen(8080);
If you’re receiving a JSON object or JSON array, you may need to change myParser.urlencoded to myParser.json.
If you need to store data from these POST requests, you can use MongoDB with a library such as Mongoose to achieve this. You can learn how to do that here.
More about saving data with MongoDB on Jason’s blog.
Example: Sending POST Requests With An HTML Form To A Node.js Server
You can send a username and password to the Node.js server app above (Example 2) using the following HTML form:
<form name="regform" action="/registeruser" method="POST">
Username: <input type="text" name="username">
Password: <input type="password" name="password">
<button type="submit" id="submitbutton">Register</button>
</form>
Code Successfully Tested Using Node.js Versions:
4.2.6.
4.3.1.
20.2.0.
Code Successfully Tested Using Express Versions:
4.13.4.
4.18.2
Looking for a Node.js developer? Send me an e-mail.
Further Reading
Node.js Tutorials: How To Read A File In Node.js
Getting Started With MongoDB The Easy Way (CLI)
How To Send GET Requests From A Node.js App And Save Response Data To A Database