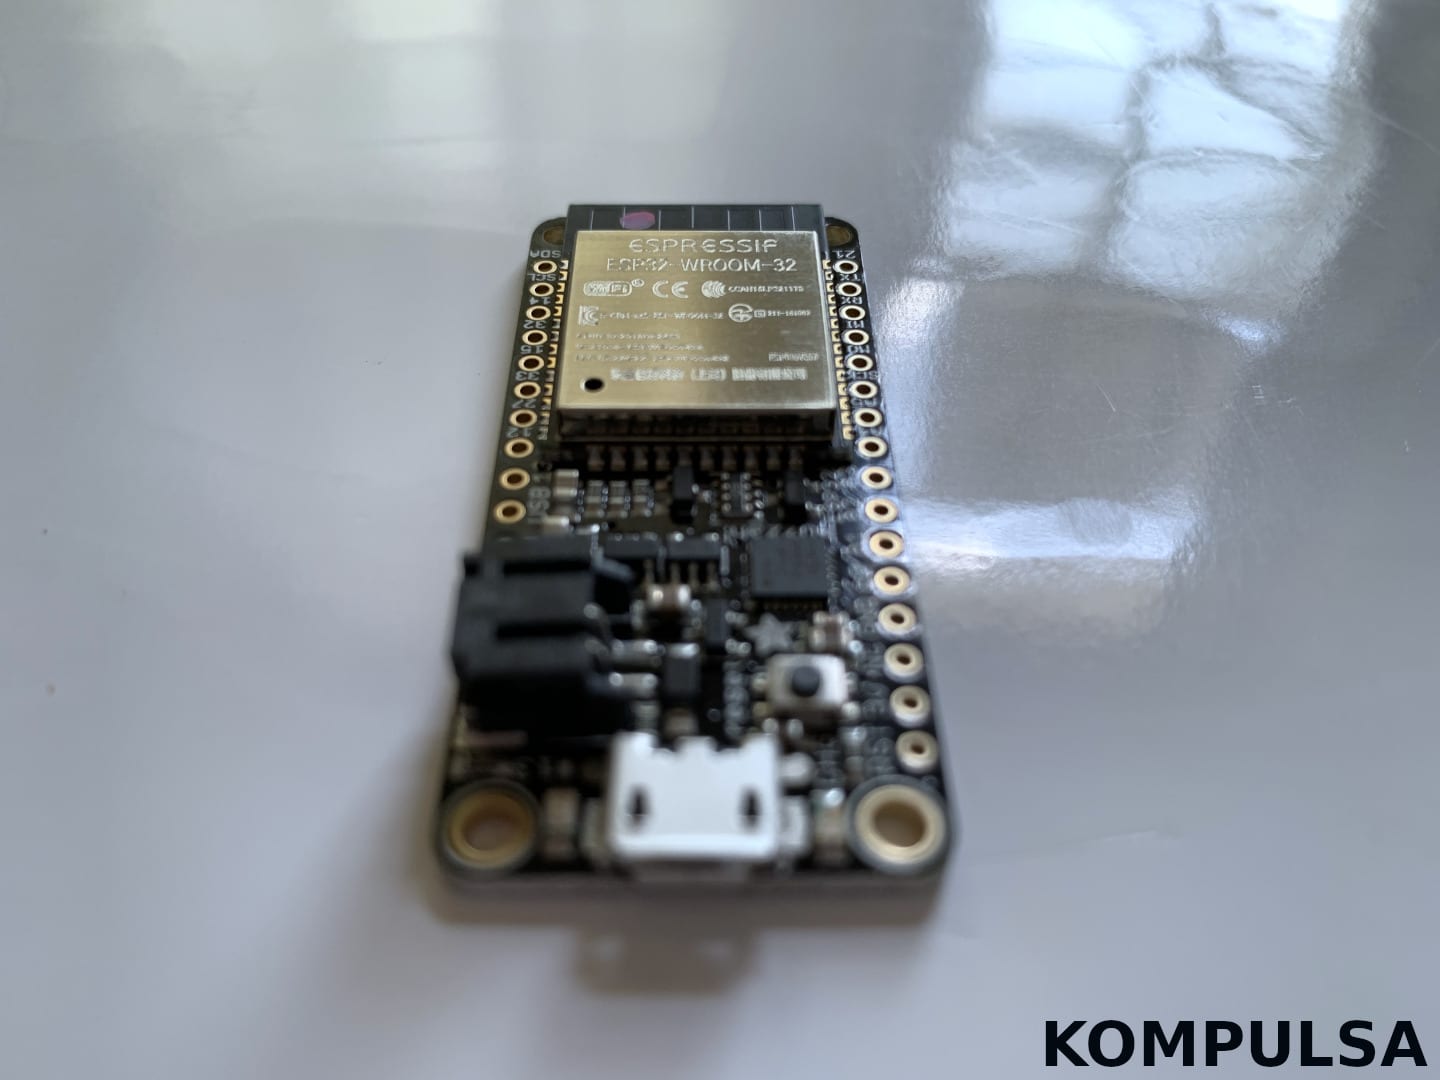
The ESP32 is a cross-platform microcontroller that supports multiple platforms including Linux. You can install your ESP32 on Linux distributions such as Ubuntu or Debian, with only a few steps.

The first step to install your ESP32 on Linux is to set up the Arduino IDE. Download the Arduino IDE from the Arduino website and then extract the provided ‘.tar.gz’ file into a directory on your PC. Open up a terminal window, CD to the Arduino directory you extracted to and run ‘./install.sh‘. You may need to prefix the command with ‘sudo’ if you get a ‘permission denied’ error.
Also plug in the ESP32 board to give the operating system some time to detect it.
When the Arduino IDE installation is complete, you should see the Arduino IDE entry in your start menu equivalent or when you search for it under ‘Activities’ in Ubuntu. Launch the IDE and then go to File > Preferences > and look for the Additional Board Manager URLs field. In that field, paste the link to the board manufacturer’s (Espressif) board manager url and click OK:
https://dl.espressif.com/dl/package_esp32_index.json
Now go to Tools > Board > Boards Manager. Type ‘esp32’ in the provided search field and wait for the entry called ‘esp32’ to show up. Click ‘install’ beside the one titled ‘esp32’, and then click ‘close’ when installation is complete. Now go back to Tools > Board and you should now see an ‘ESP32 Arduino‘ submenu in it. Look through that submenu for the brand/model of your ESP32 kit and click it. For example: ‘Adafruit ESP32 Feather’ or ‘Firebeetle-ESP32’ (works for both the FireBeetle and the Beetle boards).
Troubleshooting
If you get the following error on newer operating systems: ‘exec: “python”: executable file not found in $PATH‘, then you can create a symbolic link to Python 3 so that the Python command triggers it:
sudo ln -s /usr/bin/python3 /usr/bin/python
If you get a permission denied error along the lines of ‘Cannot open /dev/ttyUSB0: Permission denied‘, you can open that serial port using the following command:
sudo chmod a+rw /dev/ttyUSB0
Another option is to run the following command to add your user account to the tty group:
sudo usermod -a -G tty yourusernamehere


