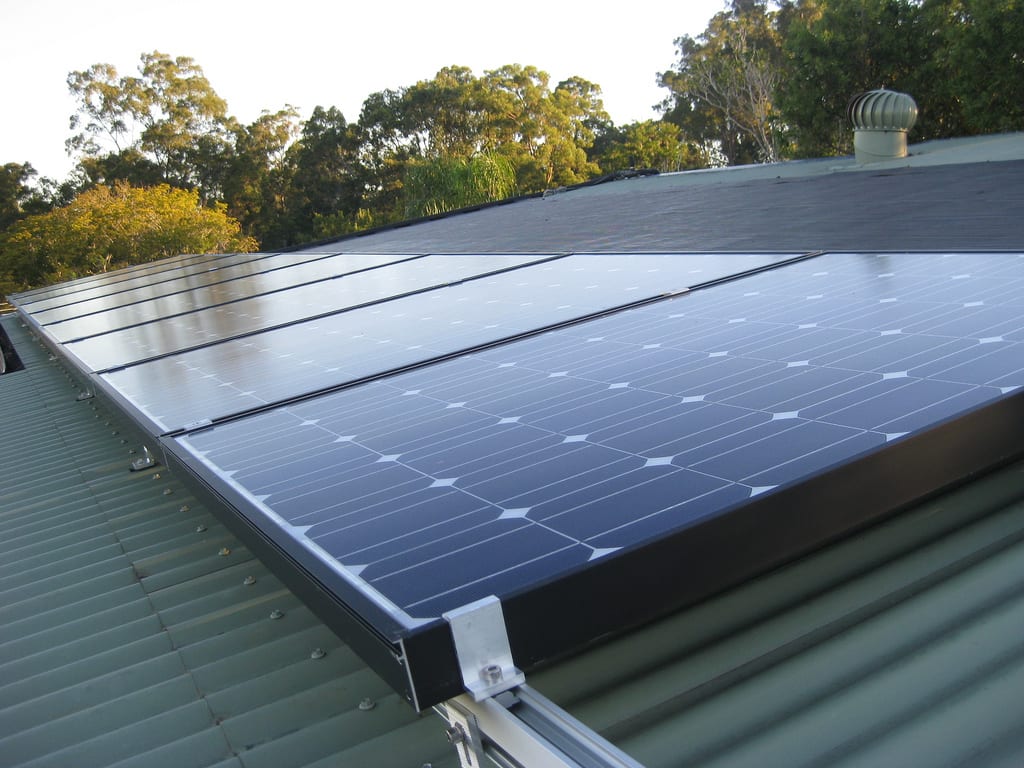
Solar power systems are a growing way to generate electricity on-site for homes and businesses with reduced or no dependence on the electricity grid — depending on the type of installation. This article walks you through the stages of power conversion so you’ll better understand the anatomy of solar systems.
Note: Not all solar systems work this way. This article refers specifically to off-grid solar systems.
Step 1: Solar Panels > Charge Controller
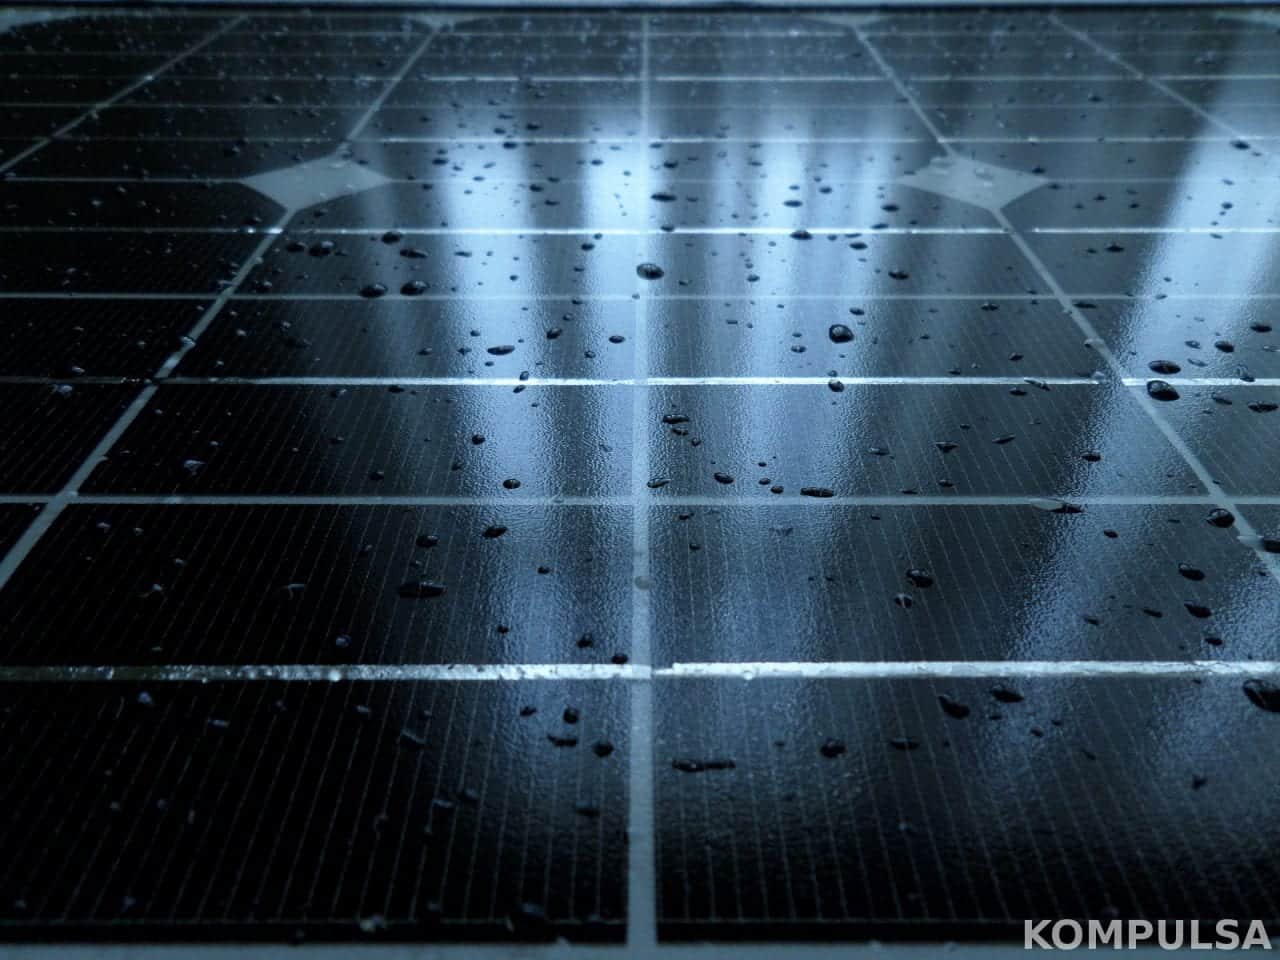
When sunlight hits solar panels, it causes them to generate electricity — direct current (DC) in this case. Small solar systems may generate 12 Volts DC or 24 Volts DC. We’ll assume that solar panels generate 12 Volts DC (12 VDC) for simplicity in this example. The amount of power generated by solar panels is dependent on how much sunlight they receive. Solar panels generate less power during cloudy weather, but they can still charge their batteries.
The 12 VDC mentioned is actually a fluctuating voltage due to the fact that the amount of sunlight hitting the solar panels varies. It can go up to 20 Volts on a very sunny day if there is nothing pulling the voltage down. Now that we’re aware of this voltage fluctuation, we need some form of regulator to get it under control. That would be a solar charge controller.
Step 2: Charge Controller > Batteries
The solar panels’ current flows into a device called a solar charge controller, which regulates the voltage and current to ensure that it doesn’t damage the batteries it is charging. The charge controller supplies the batteries with current until they are fully charged, and keeps the charging voltage under 14.8 volts to prevent electrolysis of the battery (which is harmful to it). A good charge controller also prevents overcharging.
Step 3: Batteries Provide Steady Power
Batteries act as a buffer for the voltage regulated, but still fluctuating current provided by the solar panels. At this point, the power supply finally stabilizes and is suitable for powering 12 VDC devices. The batteries (often of the lead-acid variety) store the solar energy and are able to provide a stable, continuous supply of power as long as they have a charge.
The charge controller has a 12 VDC power output that can be used to supply power to either the inverter or devices that can utilize 12 VDC directly. This power output is designed to prevent you from over-discharging your battery. Remember that not all charge controllers are good. Read through charge controller specifications carefully to ensure that they provide all of these features to prevent damage to your solar system or appliances.
Step 4: The Final Power Conversion
Through the charge controller, the batteries provide the inverter with a steady supply of power at 12 VDC. The inverter’s internal electronics convert that 12 VDC into 120 Volts AC (120 VAC), or 220 VAC if you’re powering an appliance that requires that. That 120 VAC is what your appliances need. The inverter has outlets to power your appliances, and/or to connect to your house to supply all your appliances with 120 VAC solar power.
Transfer Switches
The steps outlined above are for a system that is entirely off grid and is large enough to power a house on its own. Solar systems may be equipped with transfer switches that switch your house over the power grid if your solar system is unable to provide enough power (for example: cloudy weather, or just a small system). Some solar systems are built to charge and store enough power to sustain your home during cloudy weather. Even in such a scenario, you could still opt for a transfer switch, or more conveniently: An automatic transfer switch.


