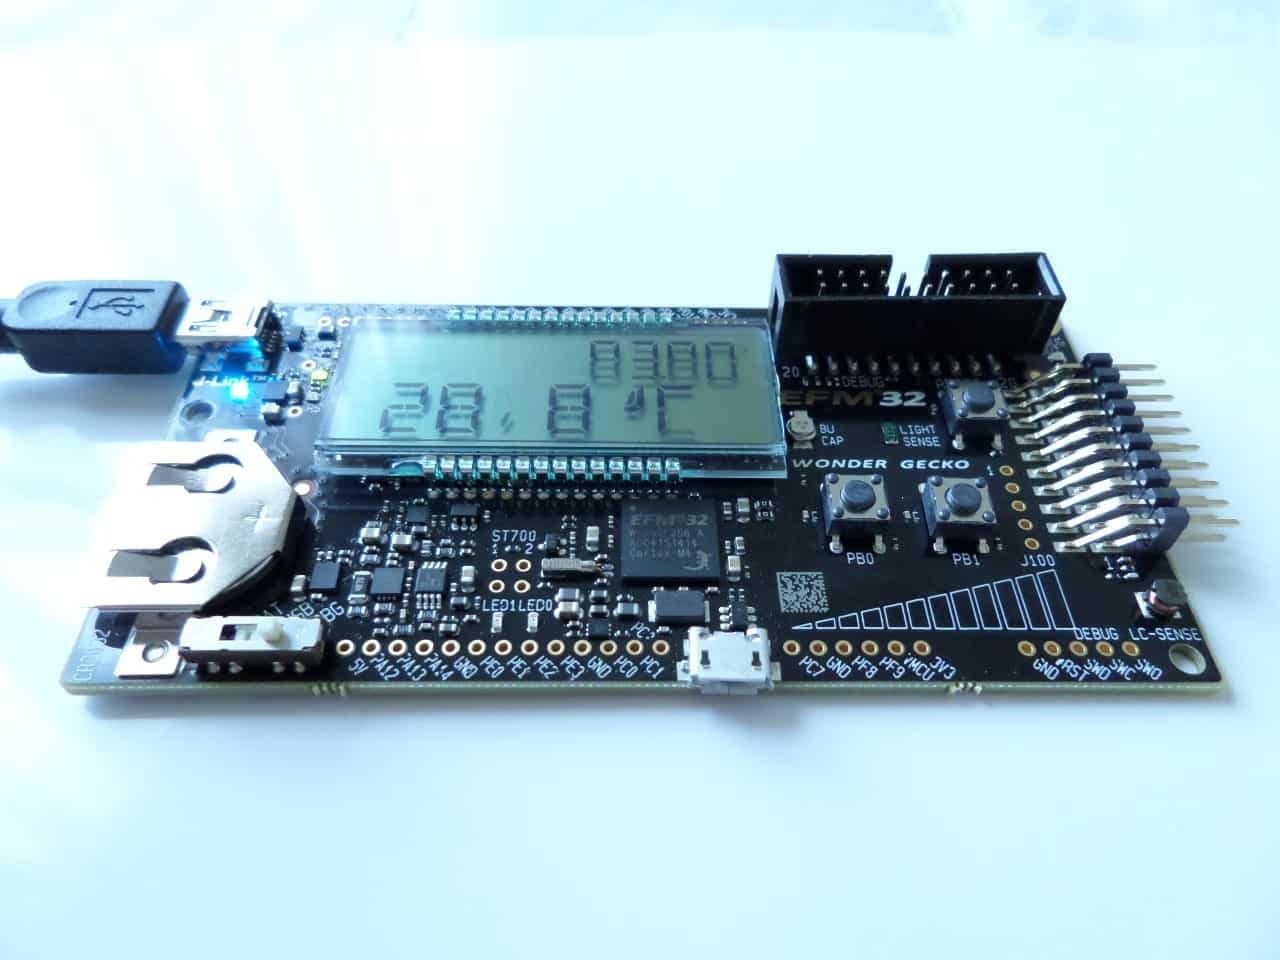
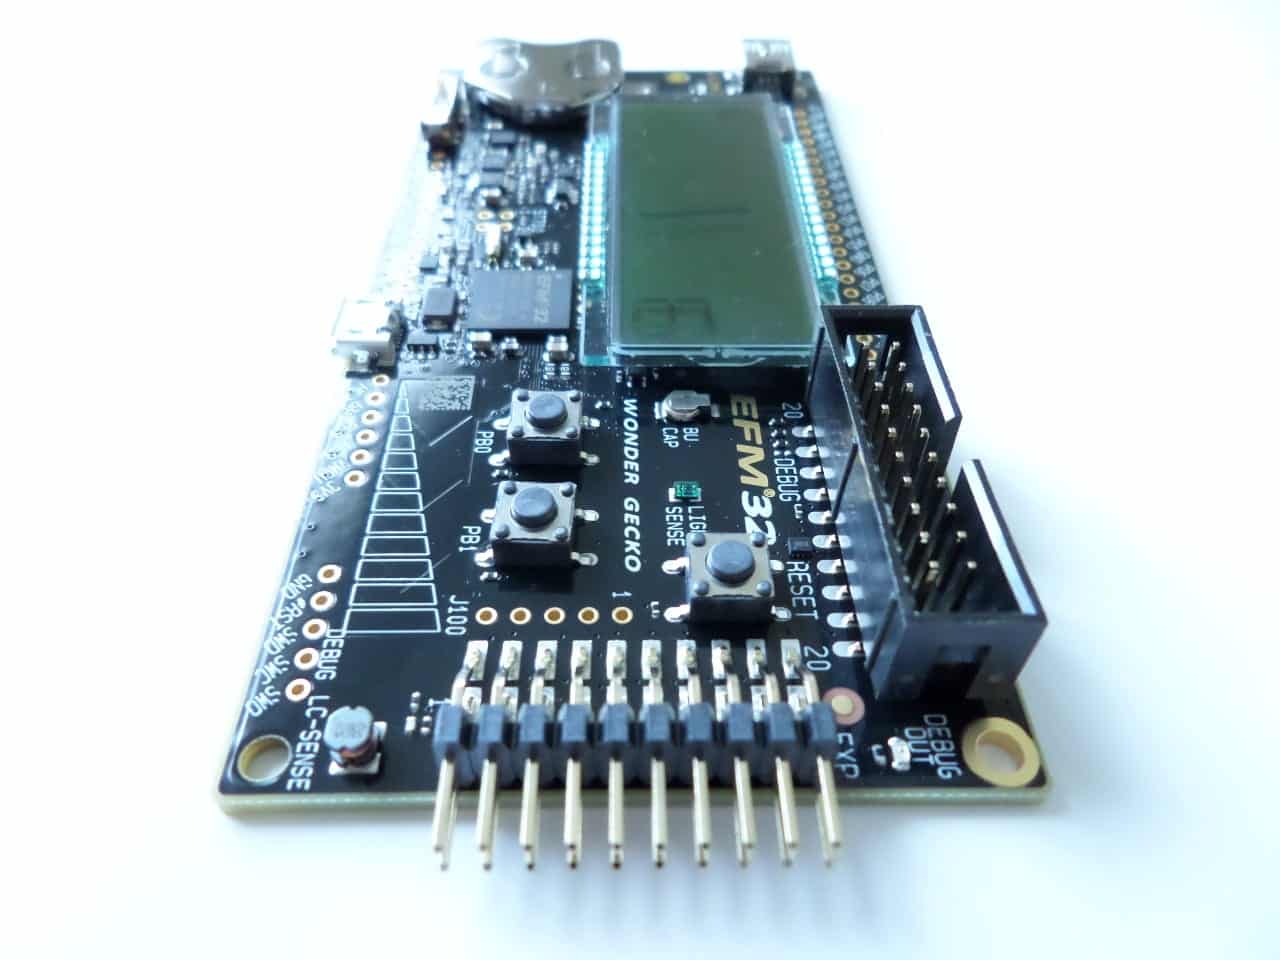
For this EFM32 GPIO tutorial, let’s first start with the most basic GPIO operation — Switching a pin on and off. Afterwards you can use it to make or do the following:
- Make a blinker.
- Switch a relay on or off.
- A circuit to time the use of appliances.
- Shut off lights at sunrise.
- A circuit to automatically turn on your outside lights at night to make it look like you’re home.
- A circuit to delay starting a generator.

What is GPIO?
GPIO means General Purpose Input Output. It is the simple activity of switching the power to a pin on or off. This is useful because the pin might trigger a relay or a transistor when it turns on, enable you to switch absolutely any appliance or other electrical device on.
EFM32 Wonder Gecko GPIO Guide (EFM32WG990)
On the EFM32 Wonder Gecko microcontroller (the WG990 specifically is used in this tutorial but the code will work with some other models), you just need to set the pin mode using ‘GPIO_PinModeSet‘ function or you can use the ‘GPIO_PinOutSet‘ function in addition to it (but you don’t have to).
You can use the following line of code to switch on pin 1 on Port E, but you’ll need to do some prior configuration first:
GPIO_PinModeSet(gpioPortE, 1, gpioModePushPull, 1);
To switch off the pin, just change the 1 to a 0.
GPIO_PinModeSet(gpioPortE, 1, gpioModePushPull, 0);
The parameters for this function are:
GPIO_PinModeSet(Port letter, Pin number, GPIO Mode, output value);
In the example above, the port letter is E, the pin number is 1, the GPIO mode is PushPull, and the output value is 0. In GPIO a ‘1‘ means on and a ‘0‘ means off. Therefore, if you were switching on your washer with this pin, you would set output value to ‘1’. To switch off the appliance, set output value to ‘0’.
Before we continue, it’s crucial to remember not to connect any appliances or other devices directly to the microcontroller’s pins. Not even a relay. You need to construct a (simple) transistor circuit so that the transistor will be the one to handle large currents, not the microcontroller. The microcontroller will be damaged if you connect appliances or other devices directly to it (even if it is a small fan).
For convenience, start this EFM32 tutorial with a discrete LED that draws less than 20 mA. Connect the positive lead on the LED to the pin labelled ‘PE1‘ (Port E Pin 1)on your EFM32 starter kit (if it is the STK3800).
How To Read From a GPIO Pin On The EFM32 Wonder Gecko
In order to get the value of a GPIO pin on the EFM32 Wonder Gecko, you must configure the pin as an input, then you can use the following code.
value = GPIO_PinInGet(gpioPortE, 1);
Reading the value of a GPIO pin is how you determine if there is a voltage (3.3 volts to be exact) being applied to the pin. This is how you determine if a button is pressed on your EFM32, for example.
The parameters are:
value = GPIO_PinInGet(port letter, pin number); //This function returns the pin value, which is then assigned to the variable 'value'.
Toggle A GPIO Pin On The EFM32
You can toggle a GPIO pin on or off on this microcontroller using the ‘GPIO_PinOutToggle‘ function and pass it the same port letter and pin number parameters as in the example above:
GPIO_PinOutToggle(gpioPortE, 1); //Toggle Pin 1 on or off depending on its current state.
The toggle function switches the GPIO pin on if it is off, and it switches it off if it is currently on. This is useful for blinking LEDs, switching relays for blinkers, among other things. You won’t have to check if the pin is currently on/off if using this function.
External Tutorial: Blink an LED


