Thus far, most of the pin plugs (jumper wires) that I have used for electrical engineering hobby projects have been loose and therefore unreliable. They slip off my development kits, my transistors, among other things. I recently found a solution that will eliminate the problem entirely: flattening them.
This is a very simple process, for which all you’ll need is:
- Pliers.
- The smallest flathead screwdriver you can find.
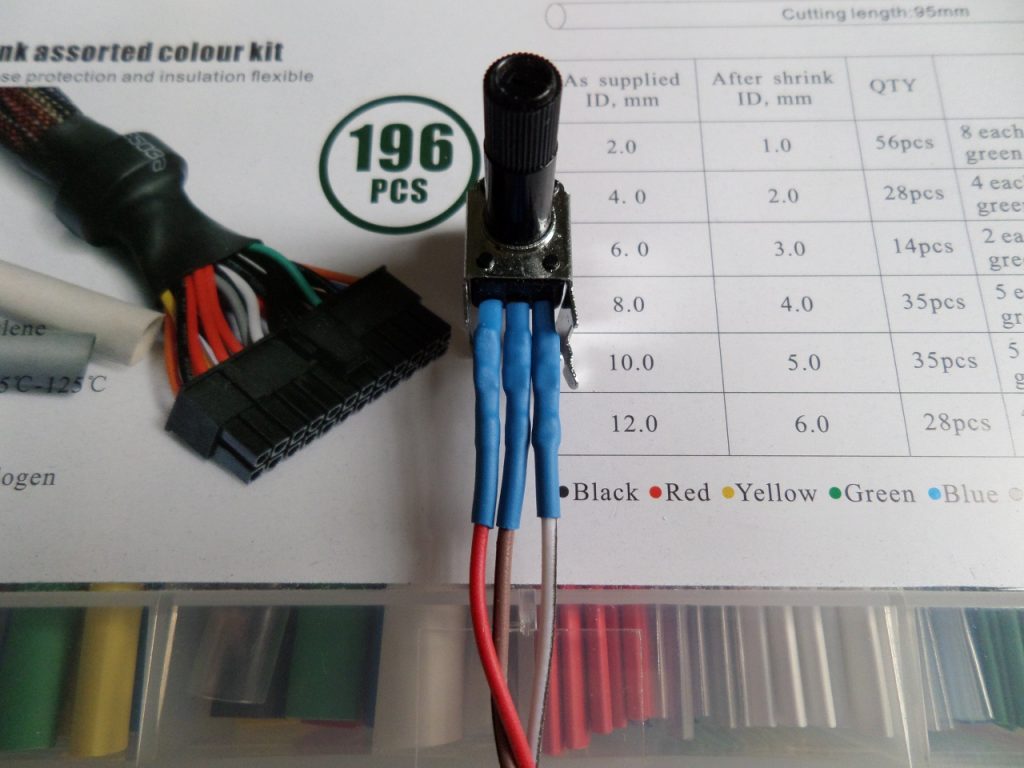
- Heat shrink tubing (optional).
- Heat gun (optional) or a hot air rework station with the smallest nozzle (safer, use at the 100 °C setting or less if possible).
Disclaimer: Please be wary of the fact that there is always the possibility of damaging your equipment when trying new things. I accept no liability for any damages which may occur when doing the following.
Step 1: Remove the plastic casing on the pin plug using the smallest flathead screwdriver you can find. Usually, there is a plastic tab that prevents the pin plug itself from slipping out of the plastic casing. Wedge the screwdriver under that tab, bend it upwards, and then pull the plug out of it. You should now see a bare metal pin plug.
Step 2: Push the pin plugs onto the pins that you intended to, then use a pair of pliers to squeeze the flatter side of the pin plugs until they are secure. Be sure to slip on the piece of heat shrink tubing over the wire prior to doing this (if you want heat shrink tubing on it), as you may not be able to remove the pin plug after this.
If you flatten the plugs on some devices on which the pins are in very close proximity to each other (for example: an Arduino or a very small IC), they could come into contact with other pins and cause a short circuit. This hasn’t happened to me thus far, but if you do find that the pin plugs are too close for comfort, place a piece of heat shrink tubing over each of the flattened plugs.
This means you are not to use this procedure on anything that isn’t meant for use with pin plugs. Here are a few examples of packages that you should not use pin plugs on (this doesn’t include them all):
- TSSOP.
- PLCC.
- SOT-23.
- TO-18.
- SOT-457.
- SOT-963.
- Anything SMD is out of the question.
- LEDs (unless their leads are thick/long enough).
- Anything that doesn’t allow for a substantial amount of space between the pin plugs!
Common packages this does work well with include (but are not limited to):
- TO-220.
- TO-3.
- 8-pin DIP.
- D2PAK/TO-263 (it’s not pleasant to attach pin plugs to these).
- TO-252 (maybe, but challenging).
For the last 3 options, you may want to solder the pin plugs to the pins.
Step 3: Use a heat gun on the lowest heat setting to heat up the heat shrink tubing after positioning it over the plug, ensuring that it covers the metal fully. Sweep the heat gun all around the heat shrink tubing to ensure that it is evenly heated and to minimize the chance of damaging your circuitry (ensure that the gun does not blow directly onto your circuitry, only on the heat shrink tubing). If you can, use a small nozzle to help you direct airflow so that it only heats up the tubing.
This step is necessary if you are using heat shrink tubing, if you’re not using heat shrink tubing at all then skip this step. Please use heat shrink tubing whenever feasible, it’s for the best!
Be careful: The heat is capable of damaging electronics (for example: your Arduino or another microcontroller) if they are exposed to it for too long. Don’t apply heat any longer than you need to when executing this procedure.
Note: The heat shrink tubing (before applying heat) should be no more than twice the diameter of the wire that you are applying it to, otherwise it may not seal your plugs properly. The tubing should form a tight mold over your plugs so it doesn’t slip off or encourage corrosion from the surrounding air.